If you are planning to sell or submit cards for grading, learning how to photograph sports cards properly is one of the most important steps you can take. Whether you are listing on eBay, sending cards for evaluation, or showcasing your collection, high-quality images can dramatically impact how buyers and graders view your cards. Poor photos can make a clean card look damaged, while great photos can highlight value and condition accurately. In many cases, sports card photography is just as important as the card itself when it comes to selling price. This guide will show you exactly how to take clear, professional-looking images of your baseball cards, football cards, basketball cards, and other trading cards using simple tools like a smartphone and natural light.
Why Good Sports Card Photography Matters
Before diving into technique, it’s important to understand why photographing sports cards correctly matters so much. Your photos directly affect:
- Buyer trust on eBay or marketplaces
- Perceived card condition
- Final selling price
- Grading accuracy
- Listing visibility and engagement
A blurry or poorly lit image can hide important details like:
- Corner wear
- Surface scratches
- Centering issues
- Edge damage
On the other hand, clean, sharp photos help buyers confidently evaluate the card and often lead to higher offers.
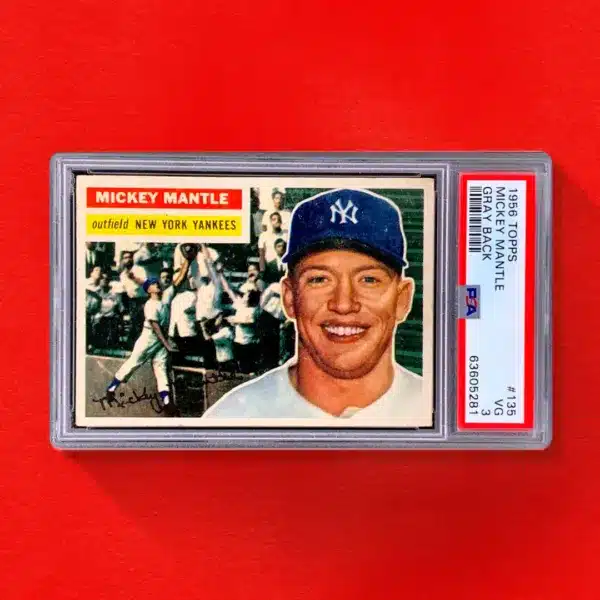
What You Need to Photograph Sports Cards
The good news is you don’t need expensive equipment to take great photos of your cards. Most collectors already have everything required.
Basic tools:
- A smartphone with a good camera
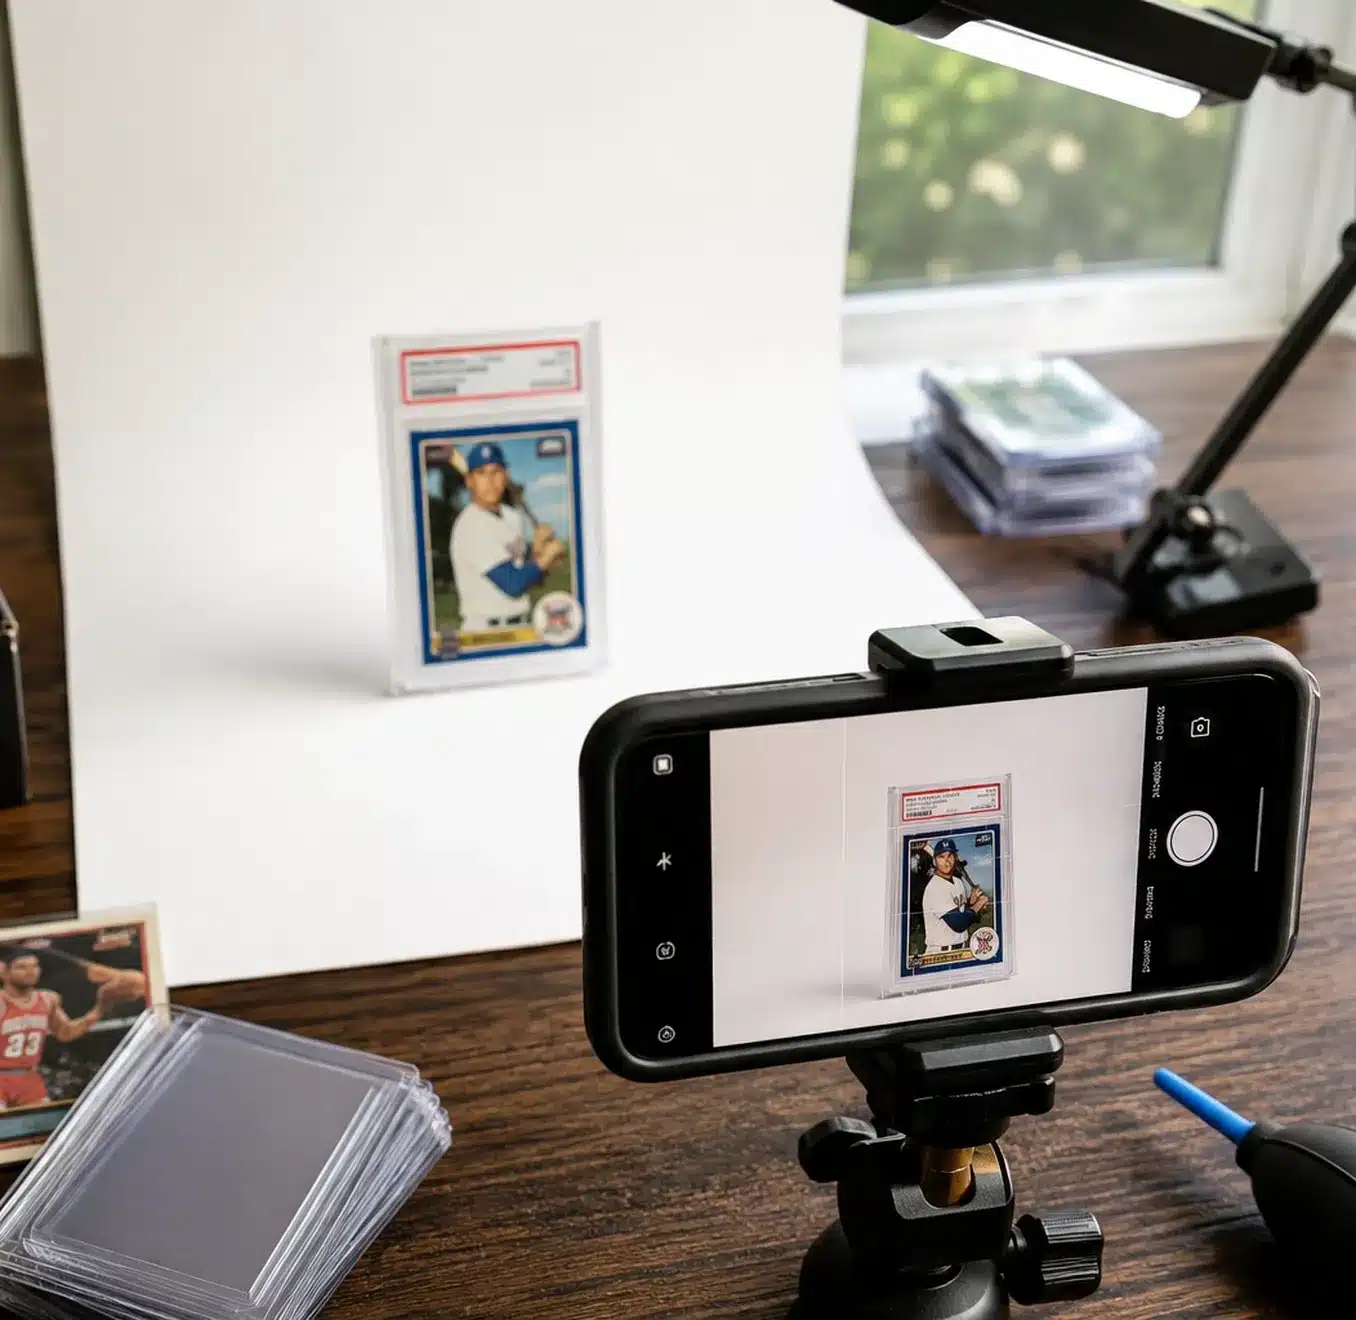
- A flat, clean surface
- Natural light (preferred)
- A neutral background
- Optional: soft LED light or lightbox
Even modern smartphones can produce excellent results when used correctly. The key is not expensive gear—it’s proper setup.
Step 1: Choose the Right Cards to Photograph
If you are photographing a large collection, start by selecting the most important cards. Focus on:
- Hall of Fame players
- Rookie cards
- High-value vintage cards
- Graded or near-mint condition cards
- Cards you plan to sell individually
For bulk listings, you don’t need perfect photography for every card—but for valuable items, quality images are essential.
Step 2: Use a Clean, Simple Background
One of the easiest ways to improve your sports card photography is by choosing the right background. Best background options:
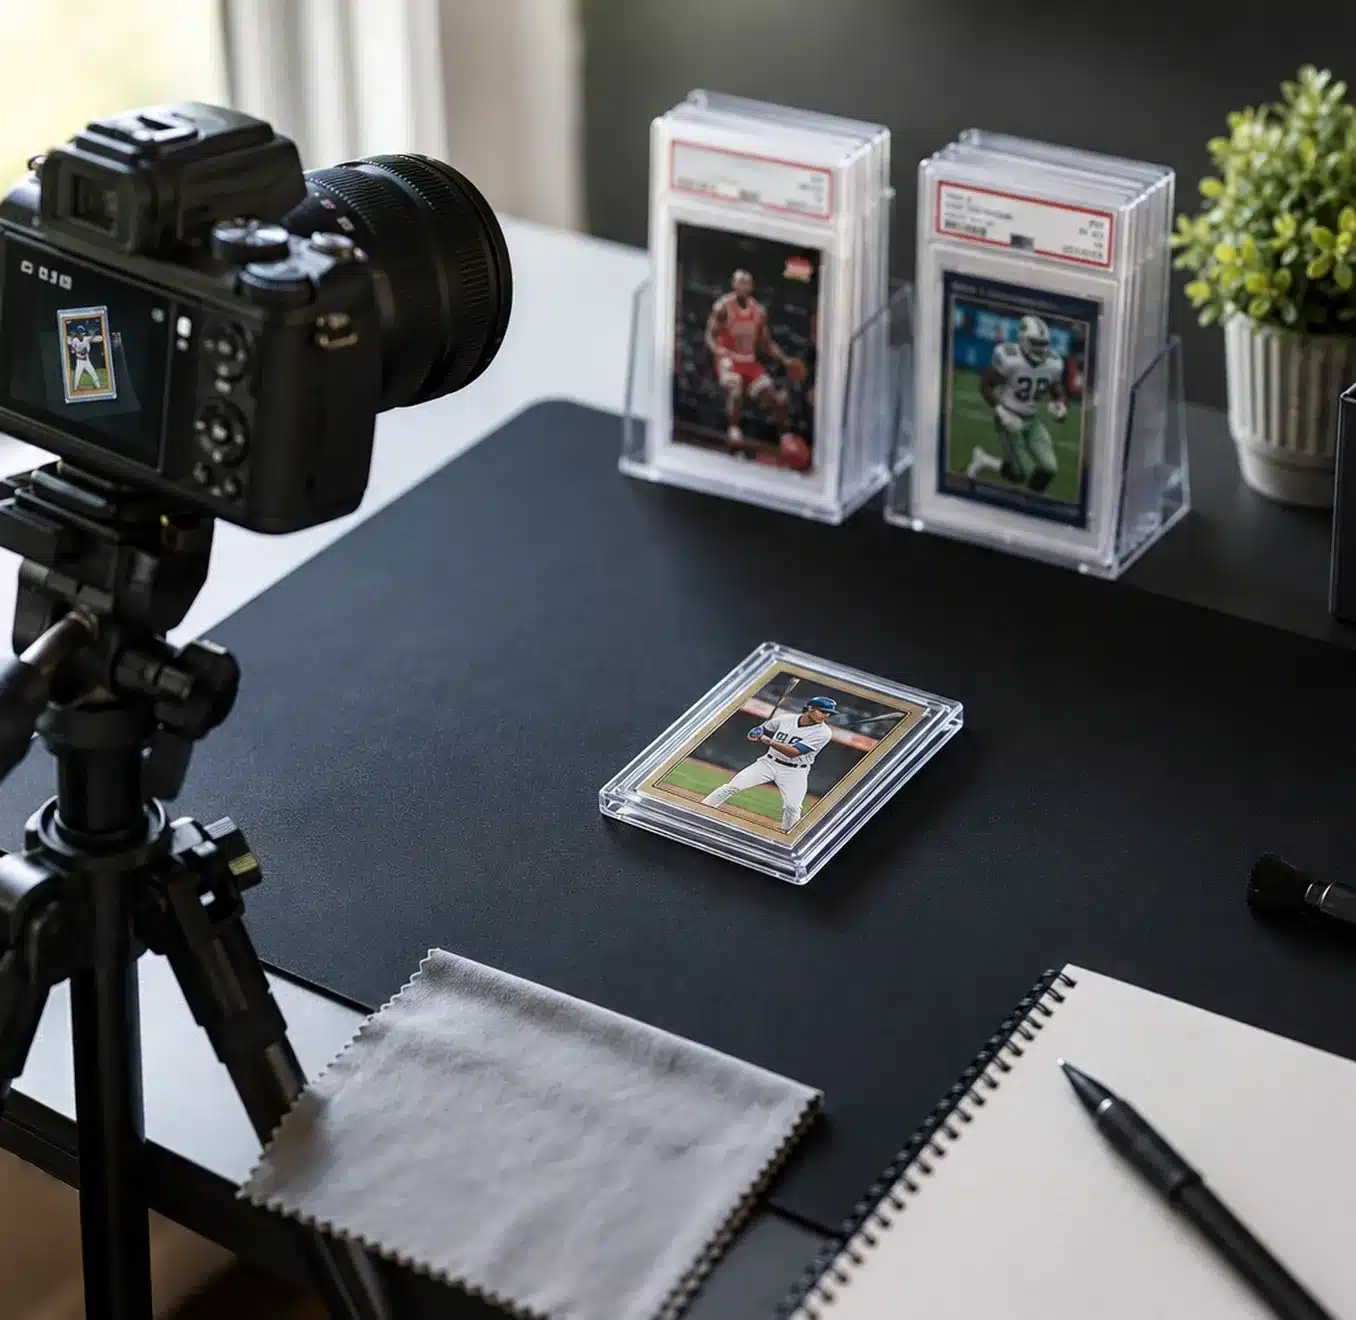
- Black matte surface (great for light-bordered cards)
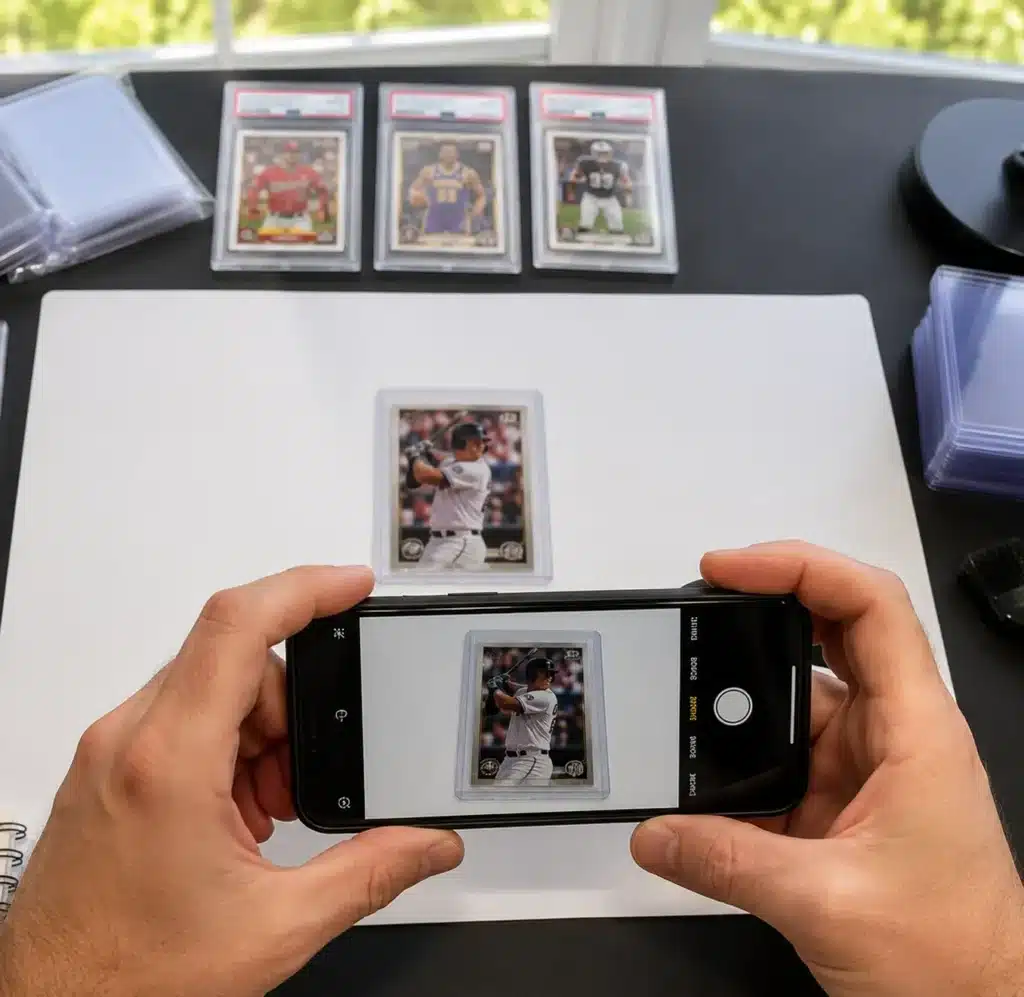
- White poster board (clean and neutral)
- Gray fabric or foam board
- Wood table with minimal texture
Avoid:
- Busy patterns
- Cluttered desks
- Colored surfaces that distract from the card
The goal is simple: the card should stand out clearly without distractions.
Step 3: Use Natural Lighting (Most Important Step)
Lighting is the single most important factor in how to photograph baseball cards properly.
Best lighting setup:
- Place cards near a window
- Use indirect sunlight
- Shoot during daytime (morning or late afternoon is ideal)
What to avoid:
- Direct harsh sunlight (creates glare and shadows)
- Overhead household lighting (can distort colors)
- Camera flash (often causes reflection and washout)
Natural light provides even illumination that accurately shows:
- Colors
- Surface condition
- Centering
- Print quality
If natural light is not available, use a soft LED panel or lightbox setup for consistent results.
Step 4: Position Your Card Correctly
Placement matters more than most collectors realize when learning photographing vintage baseball cards. Follow these tips:
- Place the card flat on the surface
- Keep it centered in the frame
- Avoid tilting unless necessary for glare control
- Leave slight space around the edges
For most listings, a straight-on overhead shot works best. If glare appears on chrome or glossy cards, slightly adjust the angle rather than moving the light source.
Step 5: Focus and Sharpness Are Critical
A blurry image can completely ruin a listing. To ensure sharp photos:
- Tap to focus on your phone screen
- Hold your phone steady or use a tripod
- Avoid zooming digitally (move closer instead)
- Clean your camera lens before shooting
Sharp focus is especially important when photographing:
- Serial numbers
- Player names
- Card borders
- Surface details
If a buyer cannot clearly see the card, they are less likely to purchase.
Step 6: Take Front and Back Photos
Every serious sports card listing photo guide should include both sides of the card.
Front photo should show:
- Full card clearly centered
- No glare or shadows
- Accurate colors
Back photo should show:
- Centering information
- Card number
- Condition notes
- Any printing issues or marks
For higher-value cards, you may also include close-ups of:
- Corners
- Edges
- Surface imperfections
Transparency builds trust and improves buyer confidence.
Step 7: Avoid Sleeves and Toploaders (When Possible)
While storage protection is important, it can interfere with photography. Best practice for listing photos:
- Remove from sleeves when safe
- Avoid glare from plastic
- Eliminate reflections from top loaders
- Shoot the raw card whenever possible
For extremely valuable cards, you may still photograph inside a sleeve—but ensure lighting is controlled.
Step 8: Maintain Consistent Framing
Consistency helps your listings look professional. Try to:
- Keep the same angle for all cards
- Use similar lighting conditions
- Maintain similar distance from camera
- Align cards evenly in the frame
This is especially important when selling multiple cards in bulk or sets.
Step 9: Capture Detail Shots for Valuable Cards
For high-end or vintage cards, additional detail photos can increase buyer confidence. Include close-ups of:
- Corners (show wear or sharpness)
- Surface (scratches or print lines)
- Centering (border alignment)
- Any imperfections
These extra images help reduce buyer disputes and improve transparency.
Step 10: Edit Carefully (If Needed)
Basic editing is fine, but avoid over-editing. You can adjust:
- Brightness
- Contrast
- Crop alignment
- Rotation
Avoid:
- Altering colors
- Removing imperfections
- Over-sharpening
The goal is accuracy, not enhancement. Buyers expect honesty when evaluating sports cards for sale online.
Common Mistakes in Sports Card Photography
Many sellers lose money due to simple photography mistakes:
- Using flash (causes glare)
- Shooting on cluttered backgrounds
- Blurry or out-of-focus images
- Cropping edges of cards
- Poor lighting balance
- Not showing card backs
Avoiding these mistakes alone can significantly improve your sales results.
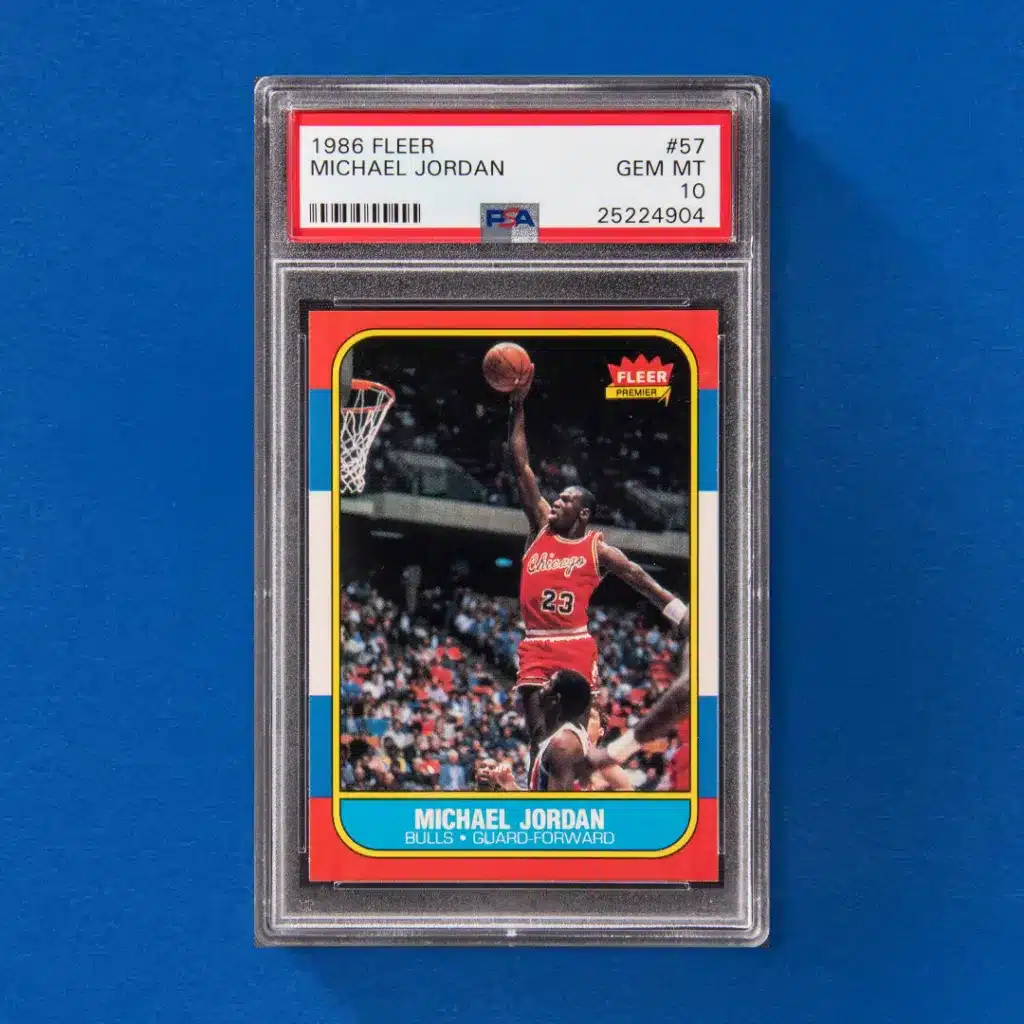
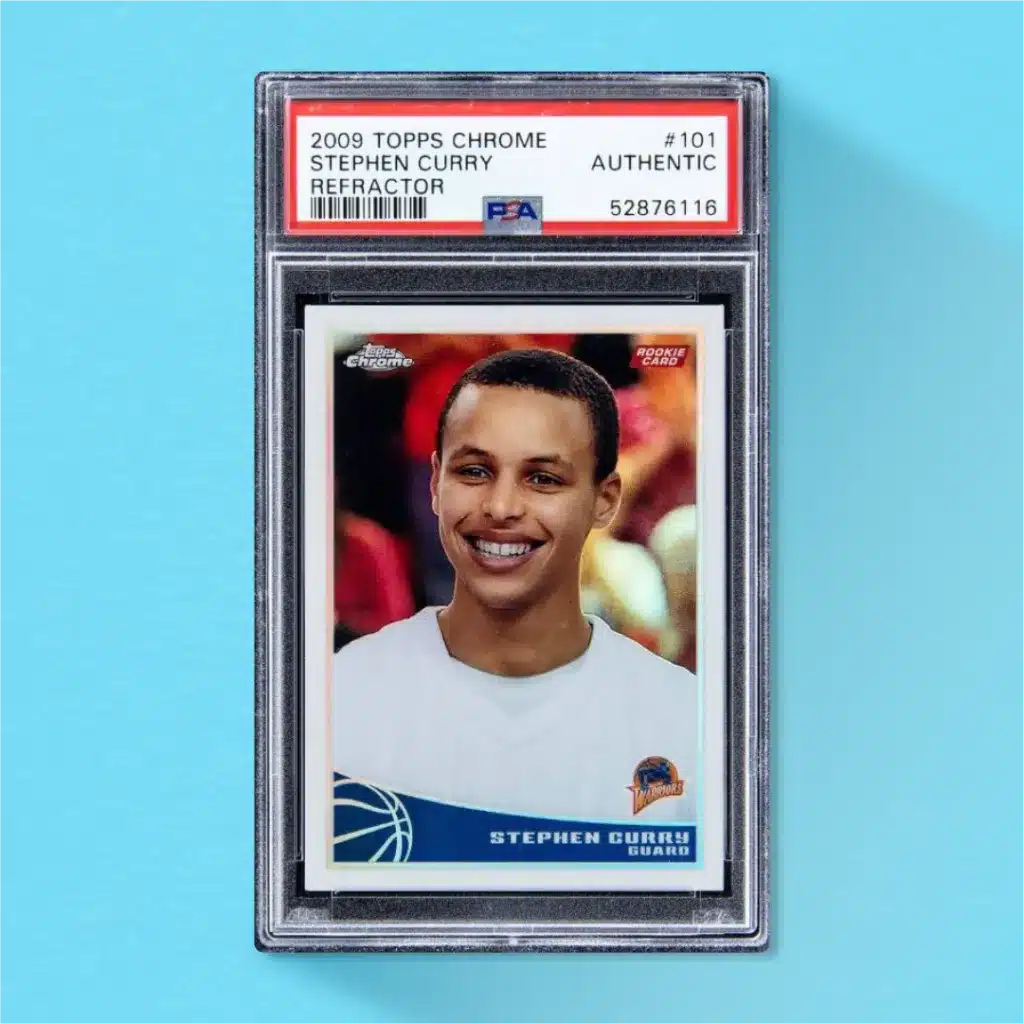
Final Thoughts on How to Photograph Sports Cards
Learning how to photograph sports cards properly is one of the easiest ways to improve your success when selling or grading cards. Good photography builds trust, highlights condition, and helps buyers make confident purchasing decisions. You don’t need expensive equipment—just good lighting, a steady hand, and attention to detail. The most important rules are simple:
- Use natural light whenever possible
- Keep images sharp and in focus
- Show both front and back of the card
- Avoid distractions in the background
- Be honest and transparent about condition
With the right approach, your sports card photos will not only look professional but also help you get the best possible value for your collection.